> ## Documentation Index
> Fetch the complete documentation index at: https://help.experro.com/llms.txt
> Use this file to discover all available pages before exploring further.
# Overview
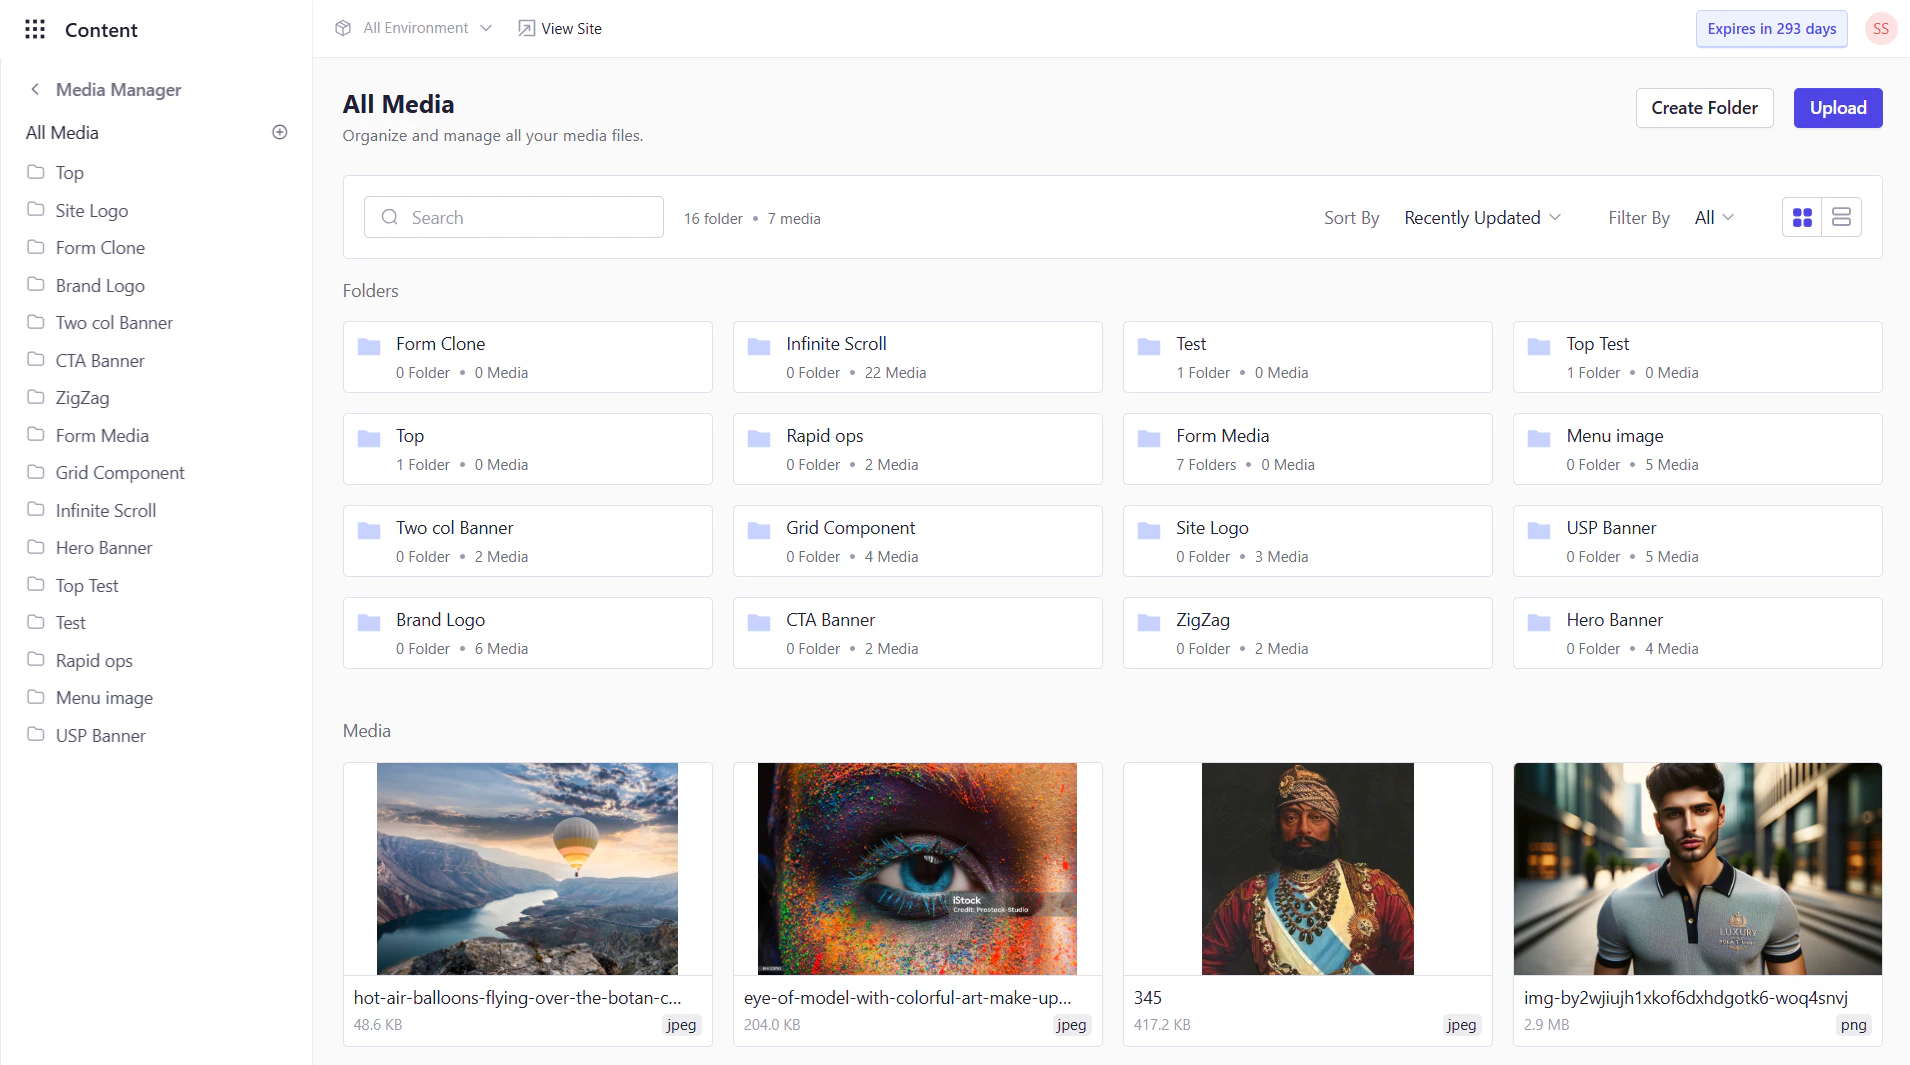
The **Media Manager** is your centralized asset repository within Experro’s headless CMS. It streamlines the entire asset lifecycle i.e., uploading, organizing, and managing images, documents, videos, and more—so you and your team can quickly find, reuse, and update media without leaving the CMS.
 ## Asset Fundamentals
### What Is an Asset?
An asset is any file you upload—be it an image, document, or video clip that you can then reference in your content entries. Treat it as a building block for your site’s pages, blogs, products, or forms.
### Supported Formats
Experro’s Media Manager accepts a wide range of file types, ensuring you can store virtually any asset your project requires:
* **Images**: `.jpeg`, `.jpg`, `.png`, `.webp`, `.svg`, `.gif`, `.tiff`, `.psd`, `.ai`, `.bmp`, `.raw`
* **Documents & Spreadsheets**: `.doc`, `.docx`, `.odt`, `.txt`, `.rtf`, `.csv`, `.xls`, `.xlsx`
* **Presentations**: `.ppt`, `.pptx`
* **Video**: `.mpeg`, `.mp4`, `.mov`, `.wmv`, `.avi`, `.flv`
If you attempt to upload an unsupported or corrupted file, you’ll receive a clear error message with the option to retry or choose a different file.
### Roles & Permissions
Asset management is governed by your workspace permissions. Only users with the **Workspace Admin** role (or explicit asset‑management rights) can:
* **Upload** new files or folders
* **Edit** asset metadata (file name, alt text, captions)
* **Delete** files or entire folders
* **Create**, **rename**, and **remove** organizational folders
This ensures that only authorized team members can modify your site’s media library and safeguard against accidental changes.
With these fundamentals in place, you’re ready to start adding and organizing your assets. In the next section, you’ll learn how to upload files—either by clicking to browse your local computer or by using drag‑and‑drop for quick batch uploads.
## Asset Fundamentals
### What Is an Asset?
An asset is any file you upload—be it an image, document, or video clip that you can then reference in your content entries. Treat it as a building block for your site’s pages, blogs, products, or forms.
### Supported Formats
Experro’s Media Manager accepts a wide range of file types, ensuring you can store virtually any asset your project requires:
* **Images**: `.jpeg`, `.jpg`, `.png`, `.webp`, `.svg`, `.gif`, `.tiff`, `.psd`, `.ai`, `.bmp`, `.raw`
* **Documents & Spreadsheets**: `.doc`, `.docx`, `.odt`, `.txt`, `.rtf`, `.csv`, `.xls`, `.xlsx`
* **Presentations**: `.ppt`, `.pptx`
* **Video**: `.mpeg`, `.mp4`, `.mov`, `.wmv`, `.avi`, `.flv`
If you attempt to upload an unsupported or corrupted file, you’ll receive a clear error message with the option to retry or choose a different file.
### Roles & Permissions
Asset management is governed by your workspace permissions. Only users with the **Workspace Admin** role (or explicit asset‑management rights) can:
* **Upload** new files or folders
* **Edit** asset metadata (file name, alt text, captions)
* **Delete** files or entire folders
* **Create**, **rename**, and **remove** organizational folders
This ensures that only authorized team members can modify your site’s media library and safeguard against accidental changes.
With these fundamentals in place, you’re ready to start adding and organizing your assets. In the next section, you’ll learn how to upload files—either by clicking to browse your local computer or by using drag‑and‑drop for quick batch uploads.