> ## Documentation Index
> Fetch the complete documentation index at: https://help.experro.com/llms.txt
> Use this file to discover all available pages before exploring further.
# Create an A/B Test
An A/B test splits a fixed share of your traffic across a control group and up to three variants, then measures which one performs best. This guide walks the full flow, from the create button to a live experiment.
## Prerequisites
* Permission to manage experiments in the workspace.
* At least one channel and language configured.
* The pages, components, algorithms, or merchandising rules you want to test, each with variants already defined.
## Create the Experiment
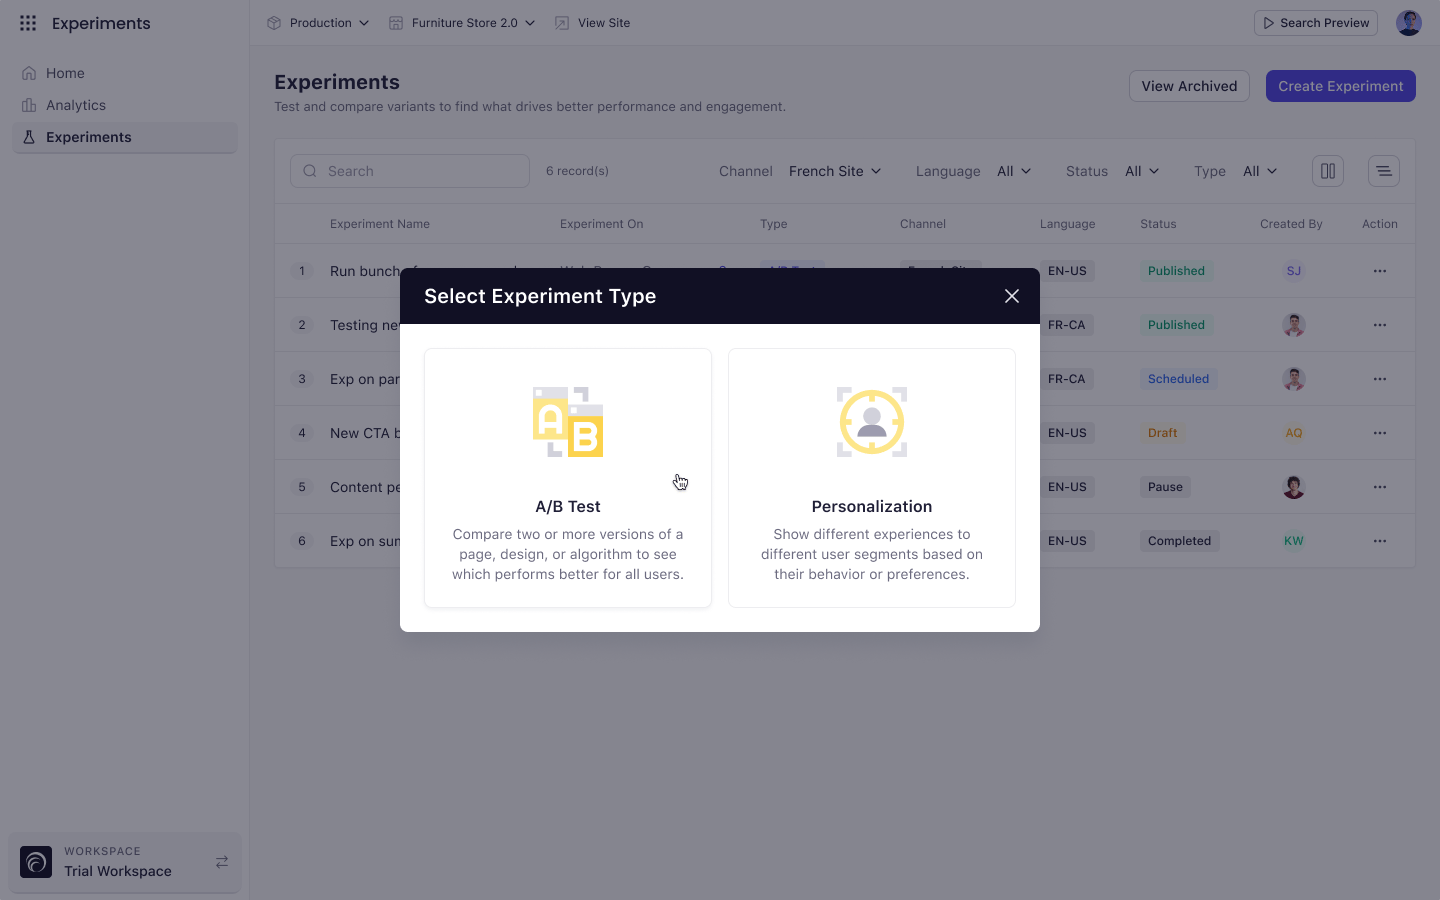
On the Experiments list, click **Create Experiment**, then choose **A/B Test** in the Select Experiment Type dialog.
 Give the experiment a name, then select a **Channel** and a **Language**. Observation and hypothesis are optional but worth writing — they record why you ran the test.
Click **Create & Continue**. This saves the experiment as a draft.
Add one primary metric. This is the KPI that decides the winner. Add secondary metrics to watch for side effects.
Decide who enters the experiment and what share of them take part.
Pick a start date. Optionally add an end date, an event count limit, and email recipients to notify when the test finishes.
Add your variants and set the split. The total must equal 100%.
Add the pages, components, algorithms, or rules you are testing, then map each one to a variant.
Click **Start Experiment**, then confirm the prompt to publish the associated records.
**Start Experiment** stays disabled until you complete the Details step. Its tooltip reads "To start the experiment, first add the experiment details and create it."
## If Validation Fails
Experro checks every step when you start the experiment. If something is missing, a red icon appears beside the affected step in the **Configurations** rail and the message "Please enter all the required fields" appears at the top of the screen.
Use the rail as a checklist. A green check means the step is complete.
You can click **Save** at any point, even with required fields empty. Saving keeps the experiment as a draft so you can come back to it.
## Key Considerations
* After you save the Details step, **Channel** and **Language** become read-only.
* Every experience you add must be mapped to a variant before the experiment can start.
## What's Next
* [Details](/experiments/a_b_testing/details)
* [Metrics](/experiments/a_b_testing/metrics)
* [View Experiment Results](/experiments/analytics/overview)
Give the experiment a name, then select a **Channel** and a **Language**. Observation and hypothesis are optional but worth writing — they record why you ran the test.
Click **Create & Continue**. This saves the experiment as a draft.
Add one primary metric. This is the KPI that decides the winner. Add secondary metrics to watch for side effects.
Decide who enters the experiment and what share of them take part.
Pick a start date. Optionally add an end date, an event count limit, and email recipients to notify when the test finishes.
Add your variants and set the split. The total must equal 100%.
Add the pages, components, algorithms, or rules you are testing, then map each one to a variant.
Click **Start Experiment**, then confirm the prompt to publish the associated records.
**Start Experiment** stays disabled until you complete the Details step. Its tooltip reads "To start the experiment, first add the experiment details and create it."
## If Validation Fails
Experro checks every step when you start the experiment. If something is missing, a red icon appears beside the affected step in the **Configurations** rail and the message "Please enter all the required fields" appears at the top of the screen.
Use the rail as a checklist. A green check means the step is complete.
You can click **Save** at any point, even with required fields empty. Saving keeps the experiment as a draft so you can come back to it.
## Key Considerations
* After you save the Details step, **Channel** and **Language** become read-only.
* Every experience you add must be mapped to a variant before the experiment can start.
## What's Next
* [Details](/experiments/a_b_testing/details)
* [Metrics](/experiments/a_b_testing/metrics)
* [View Experiment Results](/experiments/analytics/overview)