> ## Documentation Index
> Fetch the complete documentation index at: https://help.experro.com/llms.txt
> Use this file to discover all available pages before exploring further.
# Create a Personalization Experiment
A personalization experiment serves each visitor the version most relevant to them. You define the variants, give each one an audience, and map each to a real experience.
This guide walks the full flow, from the create button to a live experiment.
## How It Differs From an A/B Test
| | A/B Test | Personalization |
| ------------------ | ------------------------- | --------------------------- |
| Variant assignment | Fixed traffic percentages | Audience rules |
| Control group | Always present | None |
| Variants tab | Separate step | Merged into Target Audience |
| Completion | Moves to Completed | Returns to Draft |
| Winner selection | Yes | Not applicable |
An A/B test measures which version wins. Personalization assumes different visitors want different things and delivers accordingly.
## Prerequisites
* Permission to manage experiments in the workspace.
* At least one channel and language configured.
* The audiences you want to target, defined in your workspace.
* The pages, components, algorithms, or merchandising rules you want to personalize, each with variants already created.
## How the Configuration Screen Works
Configuration is a step-by-step flow. Each step is its own screen with its own address, and **Previous** and **Next** move between them. The **Configurations** rail on the left jumps straight to any step and marks completed steps with a green check.
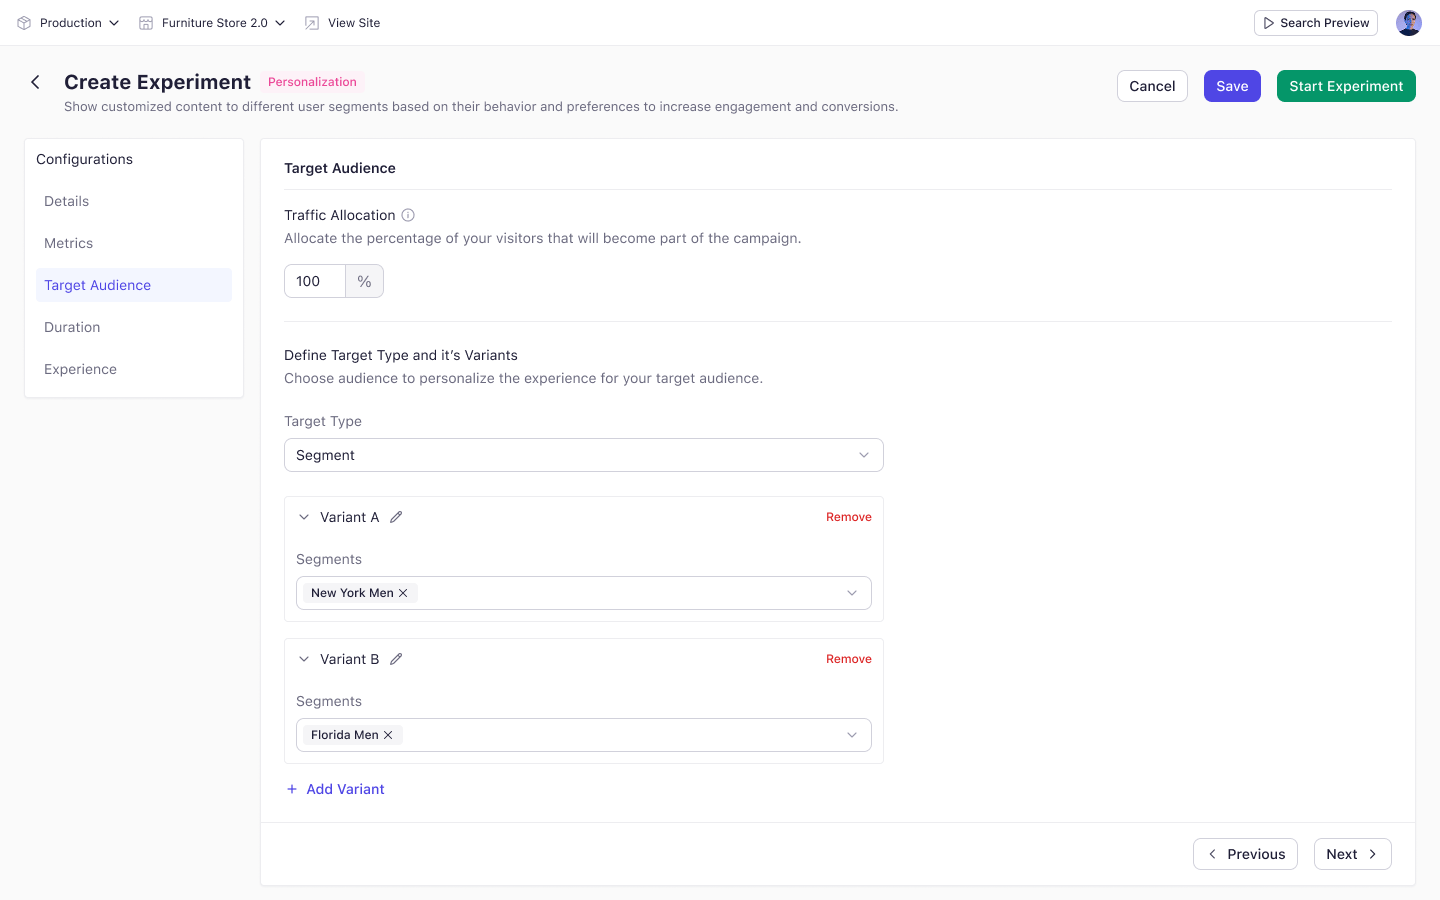
Personalization has five steps: Details, Metrics, Target Audience, Duration, and Experience. An A/B test has six. It adds a separate Variants step, which personalization does not have — variants are defined on Target Audience instead.
## Create the Experiment
On the Experiments list, click **Create Experiment**, then choose **Personalization** in the Select Experiment Type dialog.
Give the experiment a name, then select a **Channel** and a **Language**.
Click **Create & Continue**. This saves the experiment as a draft.
Add one primary metric, then any secondary metrics you want to track alongside it.
Set **Traffic Allocation** and pick a **Target Type**. Add each variant and give it values for that type.
 Pick a start date. Optionally add an end date and email recipients.
Add the pages, components, algorithms, or rules you are personalizing. Choose which version of each record every variant receives.
Click **Start Experiment**, then confirm the prompt to publish the associated records.
**Start Experiment** stays disabled until you complete the Details step. Its tooltip reads "To start the experiment, first add the experiment details and create it."
## If Validation Fails
Experro checks every step when you start the experiment. If something is missing, a red icon appears beside the affected step in the **Configurations** rail. The message "Please enter all the required fields" appears at the top of the screen.
Use the rail as a checklist. A green check means the step is complete.
You can click **Save** at any point, even with required fields empty. Saving keeps the experiment as a draft so you can come back to it.
## Key Considerations
* After you save the Details step, **Channel** and **Language** become read-only.
* **Observation** and **Hypothesis** do not appear on a personalization experiment. They are A/B test fields.
* Personalization has no control group and no per-variant traffic split. A visitor reaches a variant by matching its audience values.
* Once an experiment is published or paused its configuration is locked. Clone it to make changes.
## What's Next
* [Details](/experiments/personalization/details)
* [Target Audience](/experiments/personalization/target_audience)
* [View Experiment Results](/experiments/analytics/overview)
Pick a start date. Optionally add an end date and email recipients.
Add the pages, components, algorithms, or rules you are personalizing. Choose which version of each record every variant receives.
Click **Start Experiment**, then confirm the prompt to publish the associated records.
**Start Experiment** stays disabled until you complete the Details step. Its tooltip reads "To start the experiment, first add the experiment details and create it."
## If Validation Fails
Experro checks every step when you start the experiment. If something is missing, a red icon appears beside the affected step in the **Configurations** rail. The message "Please enter all the required fields" appears at the top of the screen.
Use the rail as a checklist. A green check means the step is complete.
You can click **Save** at any point, even with required fields empty. Saving keeps the experiment as a draft so you can come back to it.
## Key Considerations
* After you save the Details step, **Channel** and **Language** become read-only.
* **Observation** and **Hypothesis** do not appear on a personalization experiment. They are A/B test fields.
* Personalization has no control group and no per-variant traffic split. A visitor reaches a variant by matching its audience values.
* Once an experiment is published or paused its configuration is locked. Clone it to make changes.
## What's Next
* [Details](/experiments/personalization/details)
* [Target Audience](/experiments/personalization/target_audience)
* [View Experiment Results](/experiments/analytics/overview)