The Facets Listing Screen
Open Discovery > Facets in the sidebar. Each row in the listing shows the rule’s toggle, name, scope label, facets inside the rule, status, last modified, and an action menu. Use the Status and Scope filters at the top right to narrow the list, or search by rule name.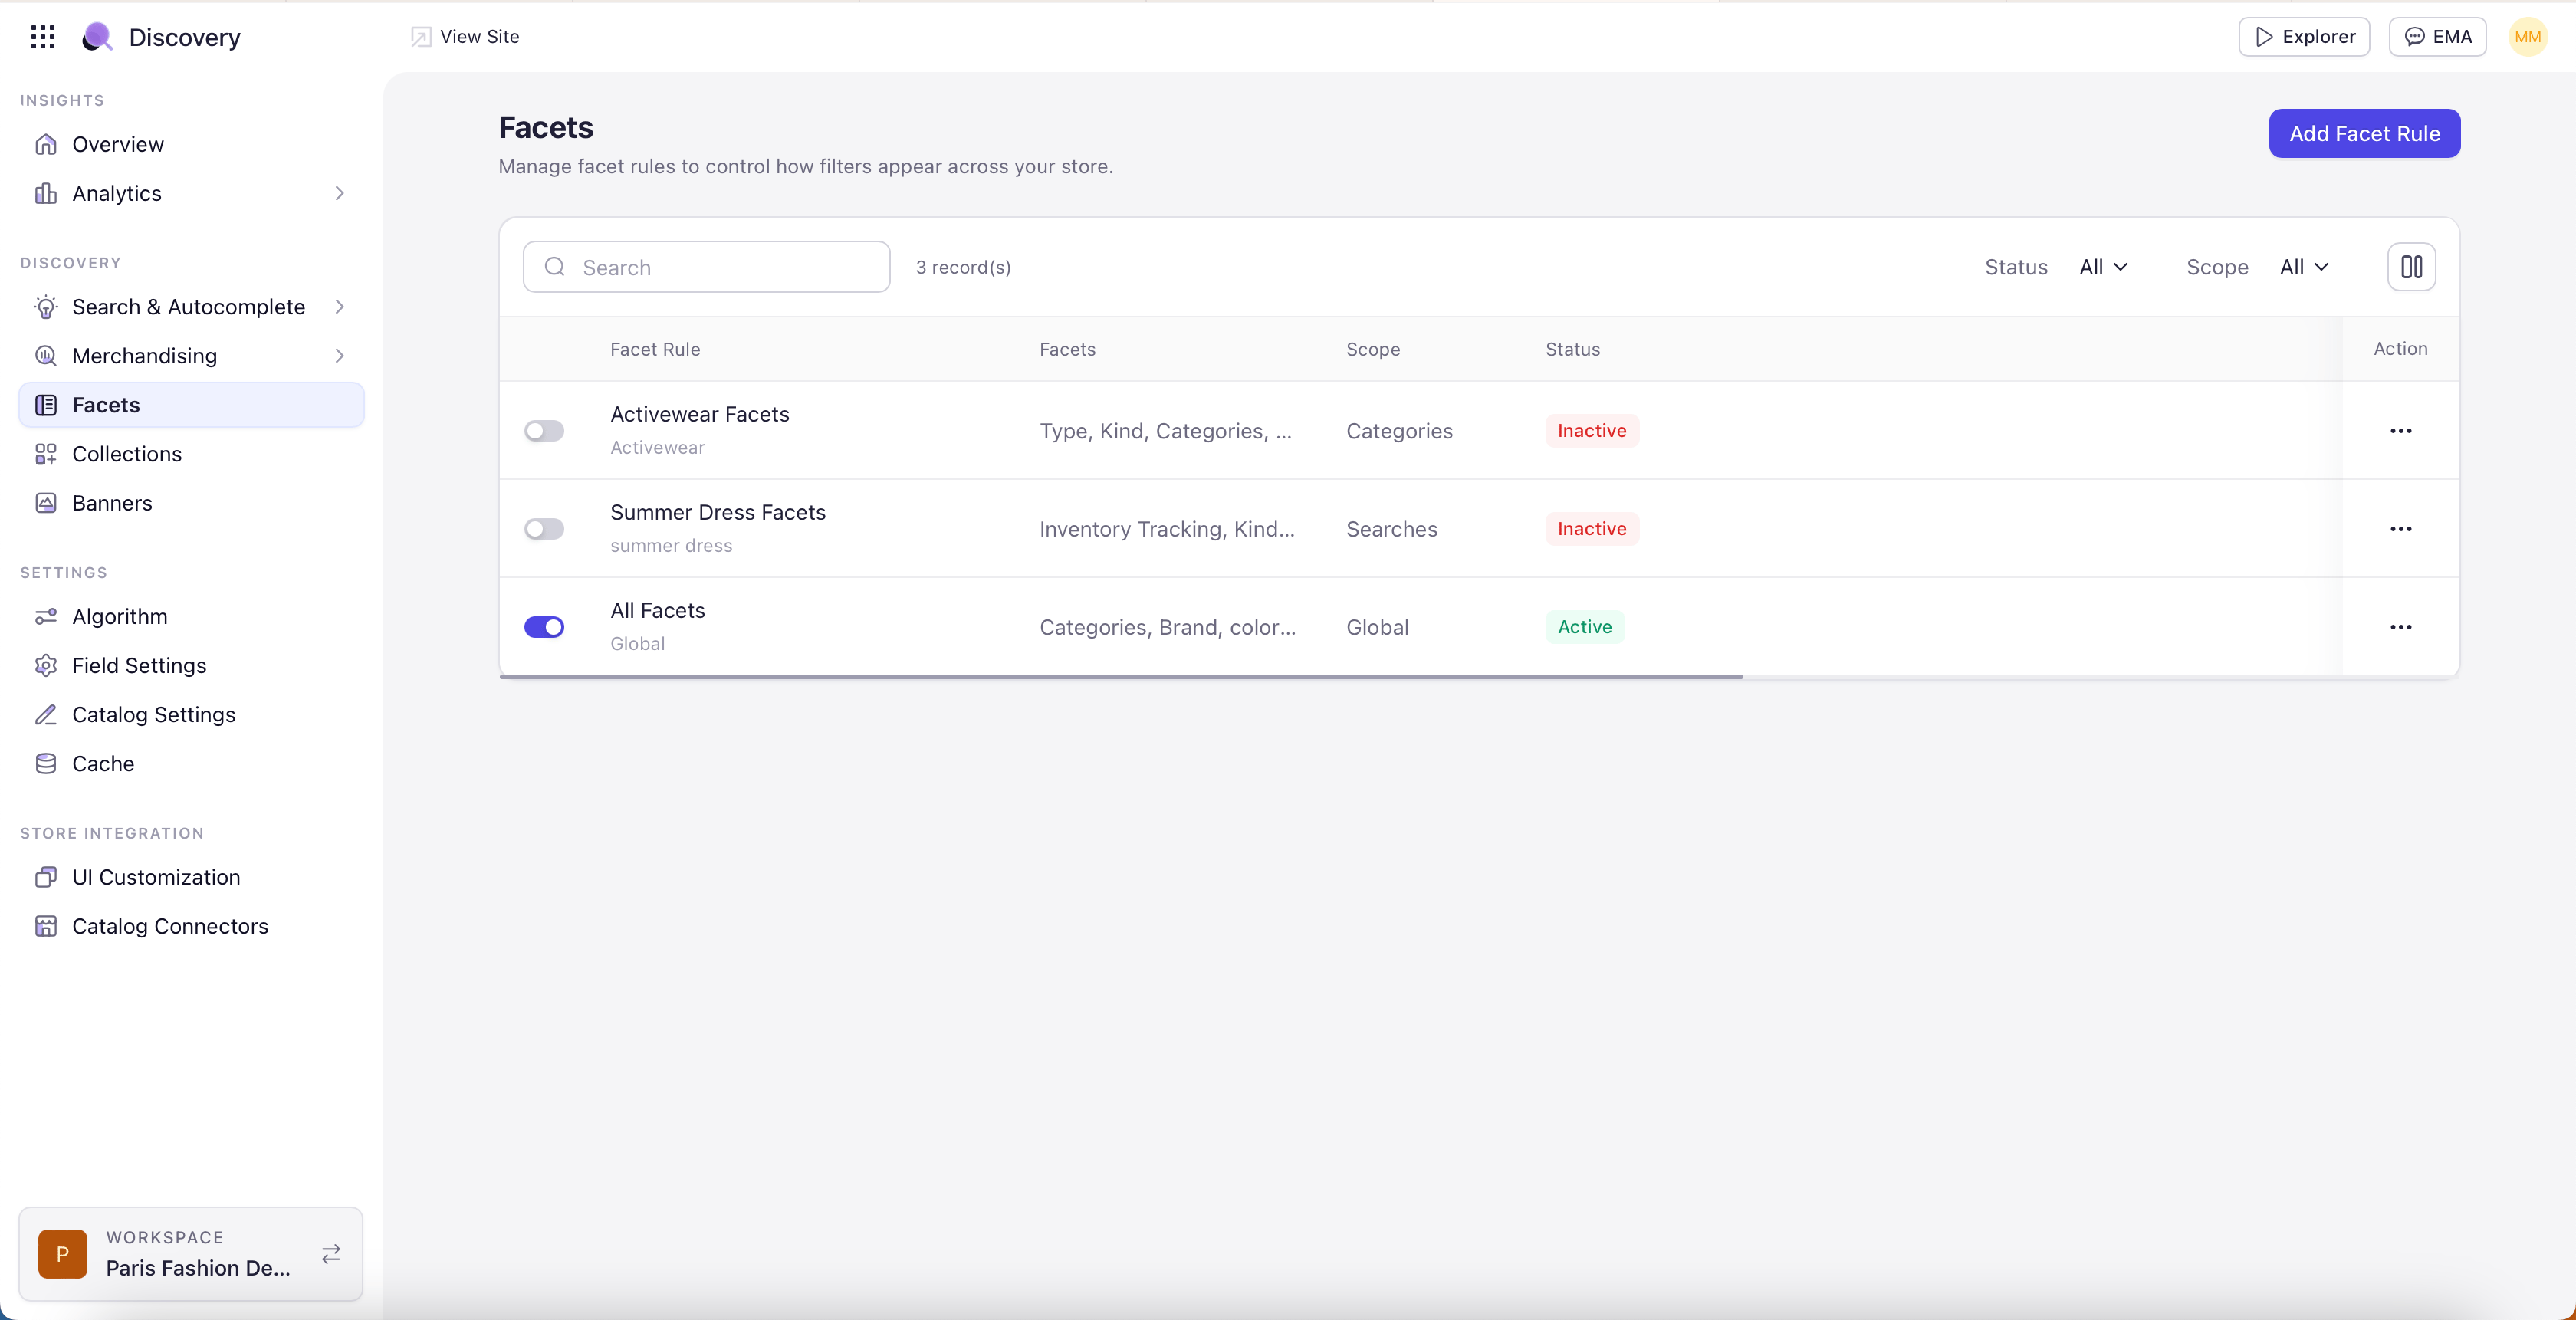
Creating a Facet Rule
Click Add Facet Rule in the top right. The pop-up has two sections — the rule name and the Facet Scope.1
Name the Rule
Use a descriptive name that identifies the surface and intent, for example “Engagement Rings — Diamond Shape” or “Winter Jacket Search Tuning”.
2
Choose the Facet Scope
Pick one of four scope types: Global, Searches, Categories, or Collections. Each card describes where the rule will apply.
3
Choose the Apply On Setting
For Searches, Categories, and Collections, an Apply On section appears below the scope cards. Pick either the “All” or “Specific” option. The Global scope does not show an Apply On section.If you pick Specific, the controls depend on the scope you chose:Specific Searches — An operator dropdown and a free-text input appear:
- Operator — Equal to (exact match), Starts with, Ends with, or Contains.
- Search term input — Type a term and press Enter to add it. Each term becomes a removable chip and shares the same operator.
4
Save the Rule
Click Save. The rule is created as Inactive. From the rule detail screen, add facets and configure them — see Configure Facet Appearance.