Shopify
Once your Experro Discovery store connection is live and you’ve finalized all UI customizations in the Experro Admin Panel, the last step is to publish those changes to your Shopify storefront. These instructions apply when you are using the Experro Default Theme. If you’ve integrated a custom theme or any other inbuilt theme, please follow your theme’s specific instructions or reach out to support.Prerequisites
Before you begin, ensure that:- Your Shopify store is successfully connected in Experro.
- All desired UI Customization tabs (Theme, Layout, Search Results, Autocomplete, CSS & JS, Translations) have been configured and saved.
- You have access to your Shopify Admin with permission to edit Themes and Theme Code.
- You are working on the Experro Default Theme (otherwise steps may vary).
Steps to Integrate
1
Open the Shopify Theme Editor
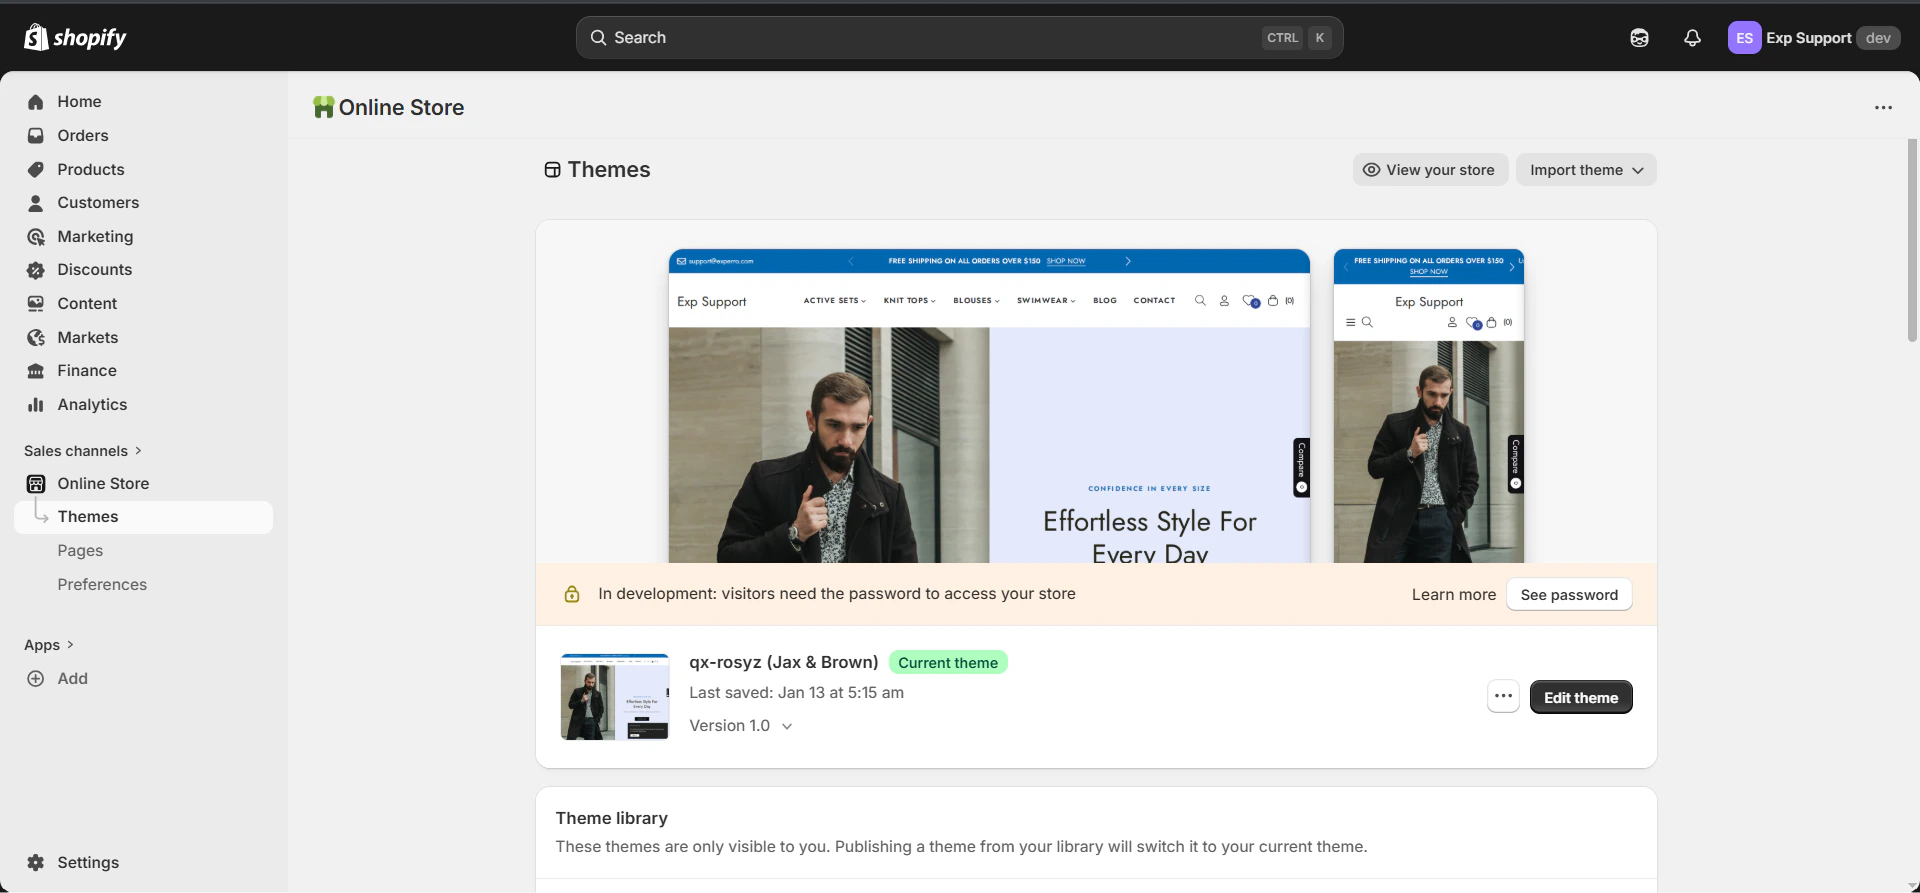
- In your Shopify Admin, navigate to Online Store → Themes.
-
Click Edit Themes.
-
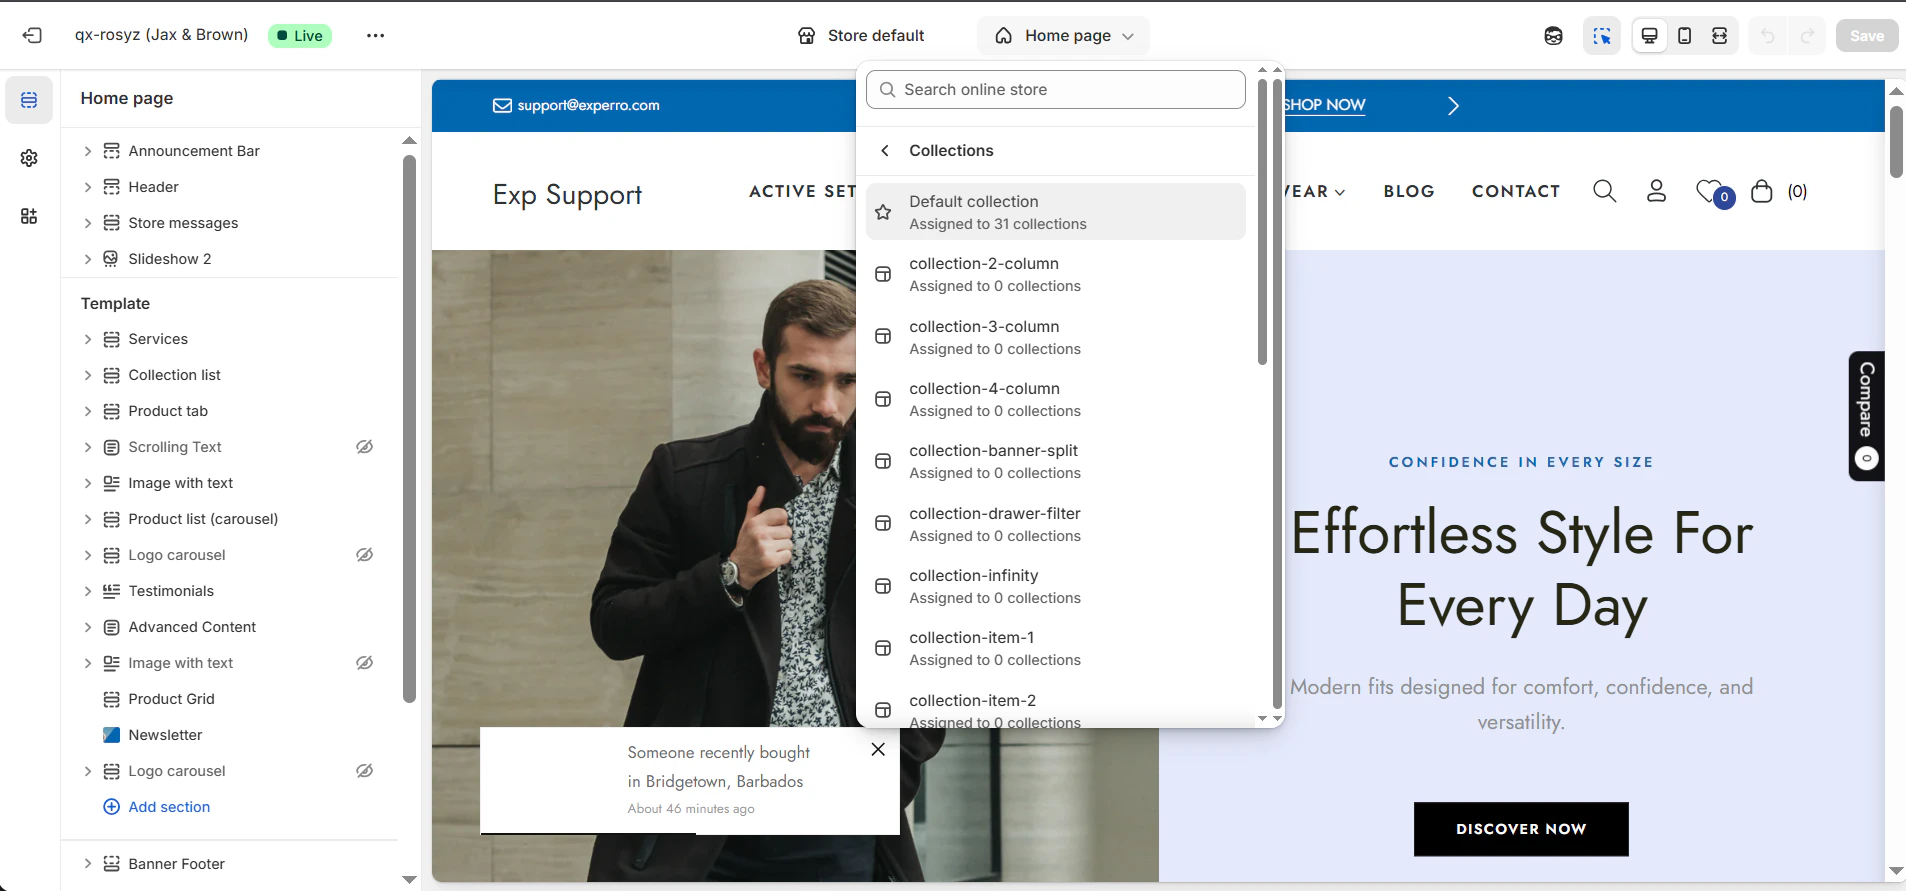
Navigate to the listing page. Select default collection from the page selection dropdown.
2
Add the Experro Container to Your Collection/Listing Pages
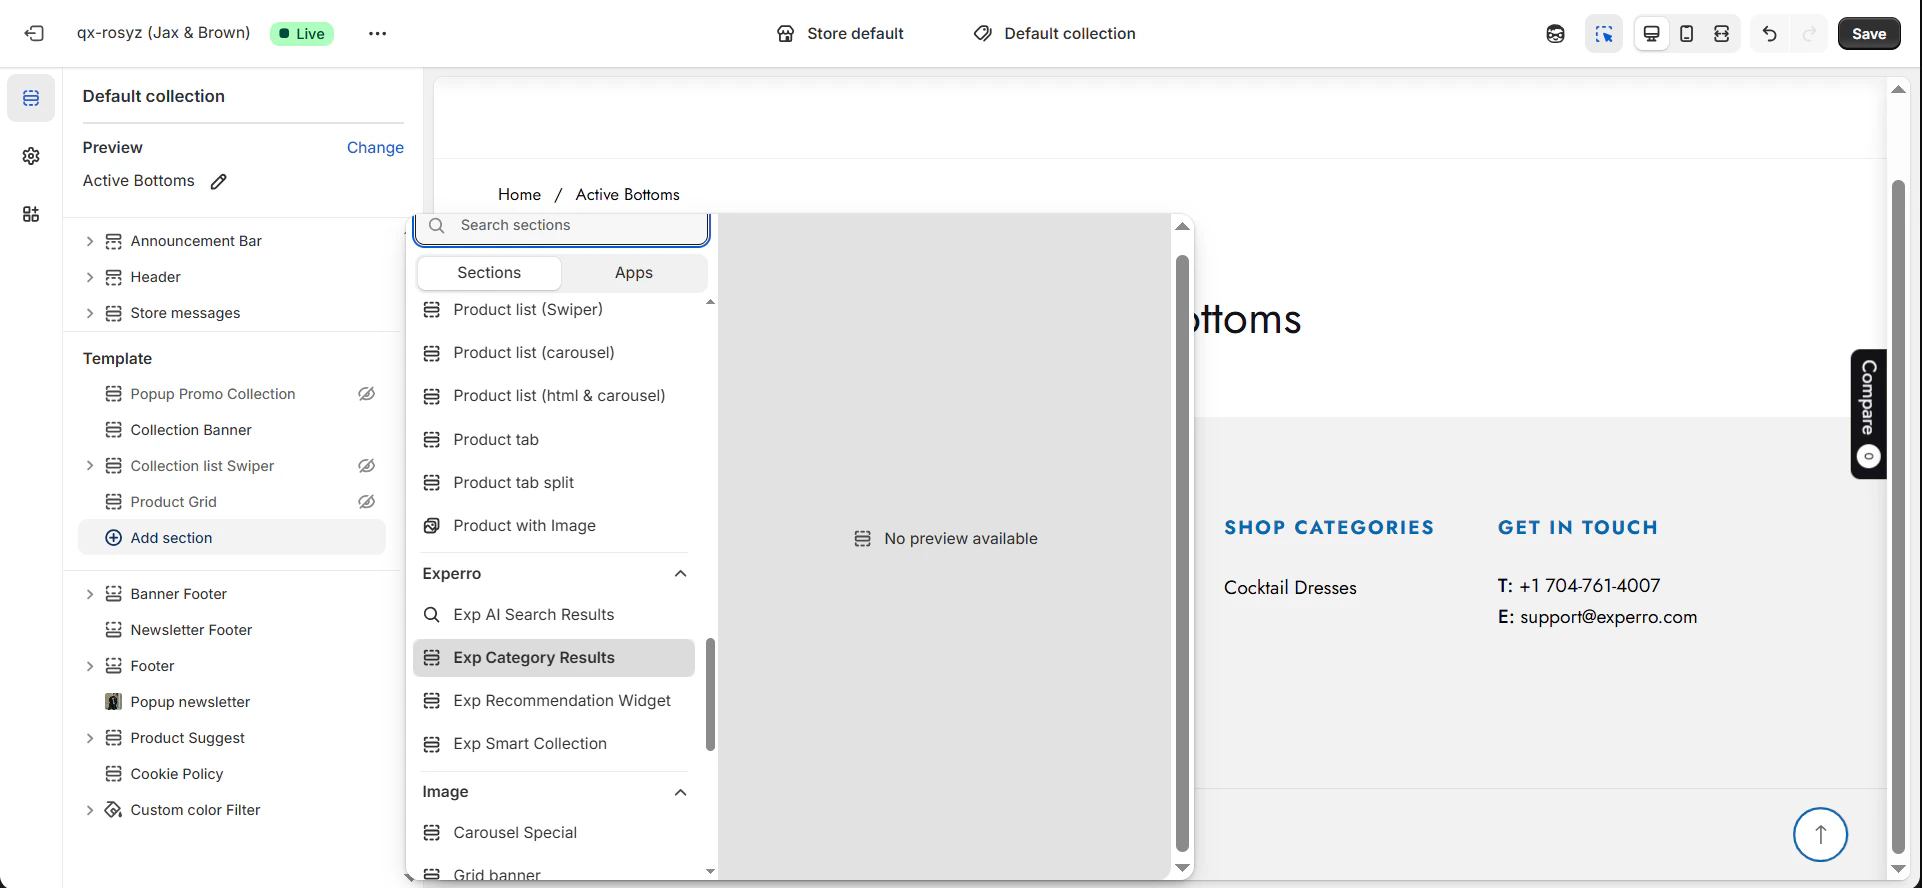
- Click Add section, then choose Exp Category Result, drag and place it where you want on your page.
3
Hide the Native Product Grid
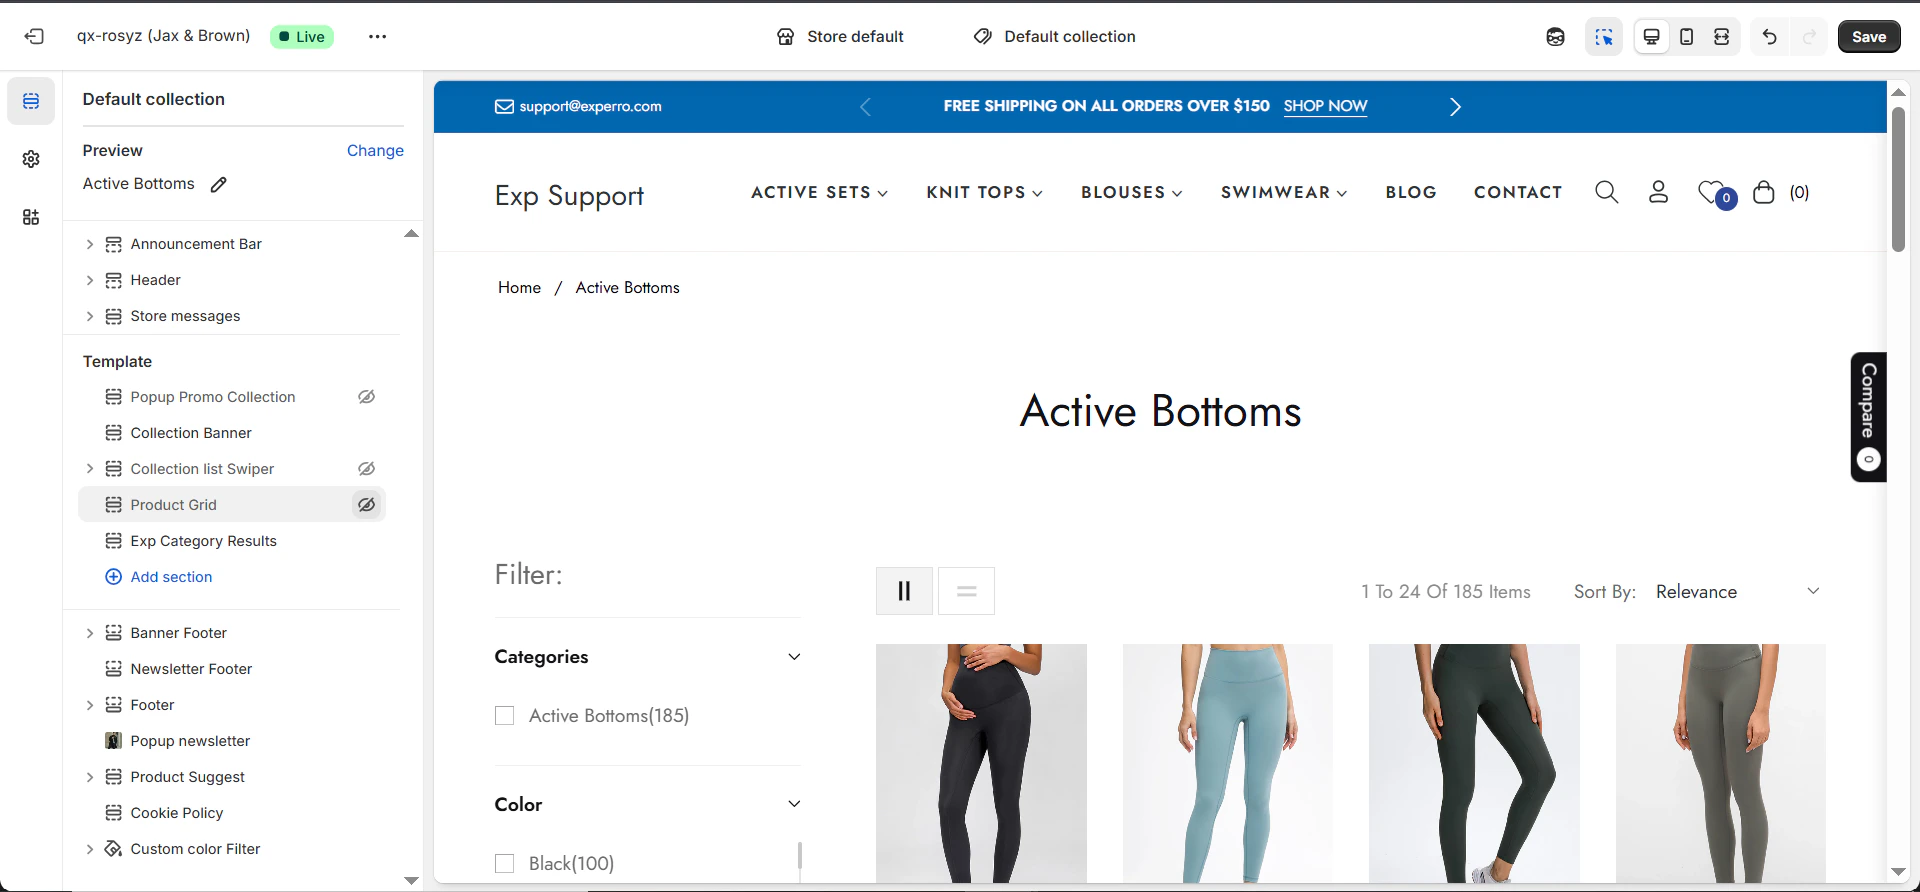
- Still within that template, locate the default Product Grid section.
-
Click the eye icon to hide it (so it doesn’t conflict with Experro’s rendering).
4
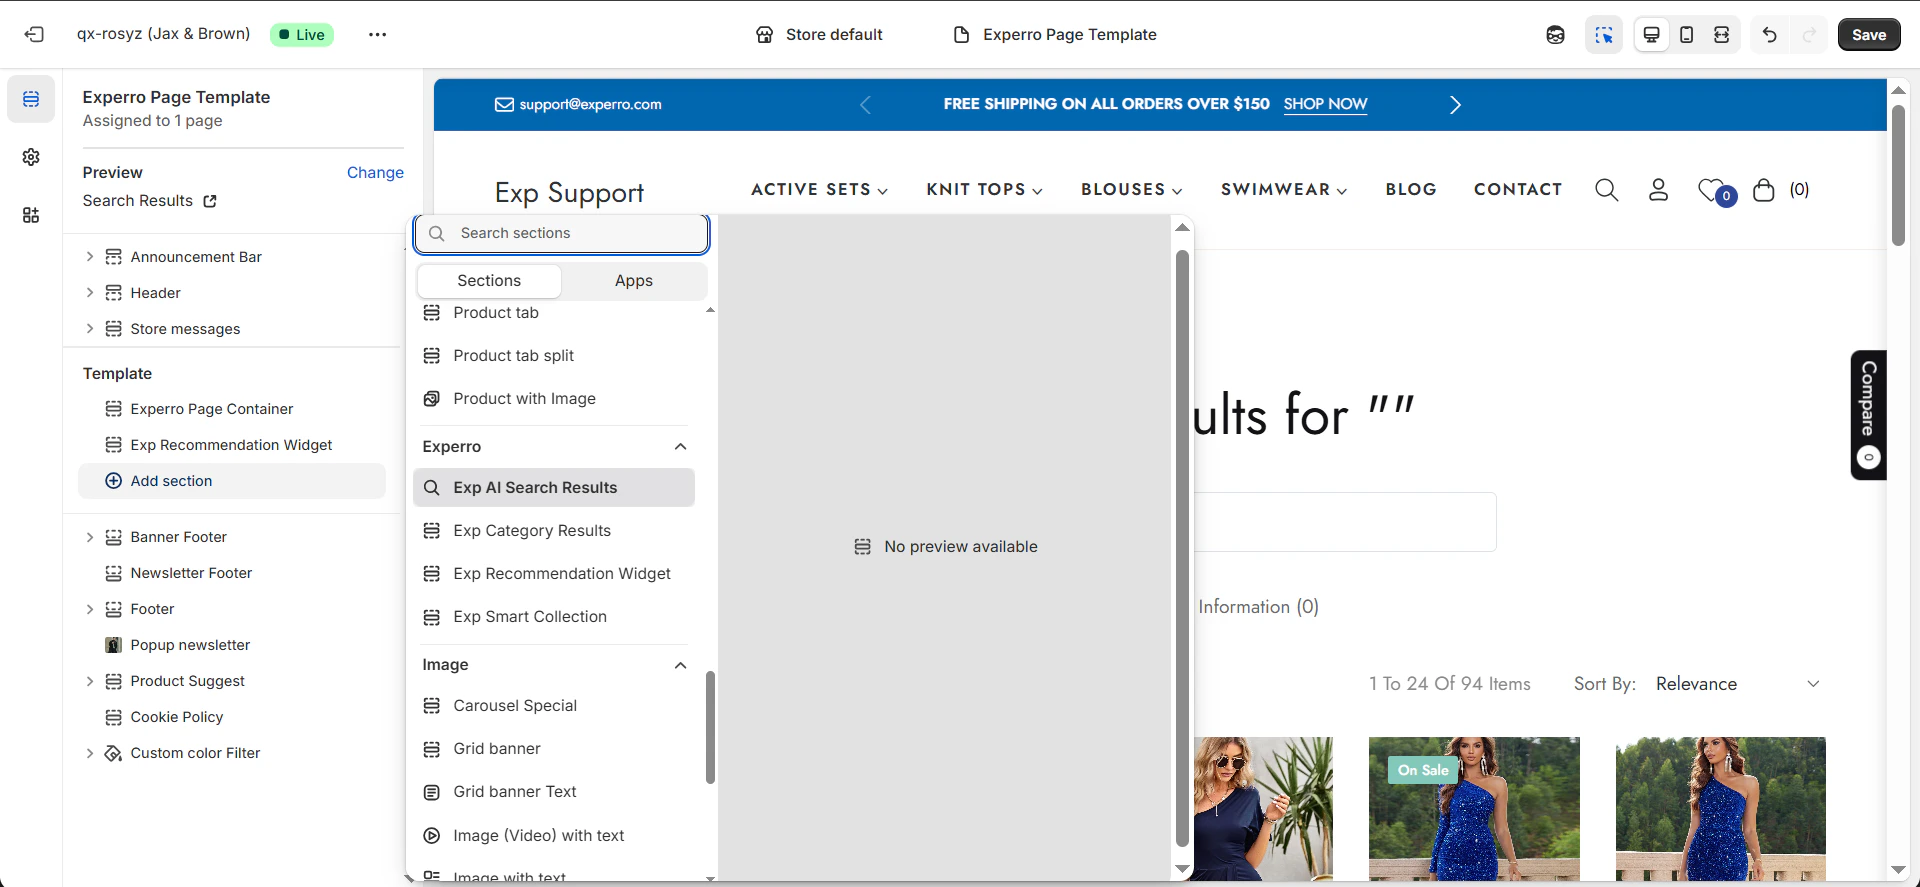
Add the Experro Container to Your Search Results Pages
This step is not compulsory. However, if you want to include the Experro search results UI, follow the steps below:
- Navigate to the page using the search bar.
- Click Add section, then choose Experro AI Search Result.
-
Click Save.
5
Optional: Personal Branding for Experro Default Theme
- If you’re using Experro Default Theme, you can override its CSS variables to match your brand.
-
In the same CSS & JS tab (under the CSS editor), paste the following:
-
Adjust any of these
--exp-…variables to suit your fonts, colors, and layouts.
6
Inject the Experro is Live Script
- Before injecting the Experro is live script, please ensure that you use the preview mode from Experro Admin panel to verify that Experro is rendering your custom UI.
- After previewing your custom UI and search experience, you can make it live by injecting the Experro Live Script into your site.
- In the Experro Admin Panel, go to Discovery → UI Customization → CSS & JS.
-
In the JavaScript (JS) Editor section, enter:
7
Save Your Theme Settings
- Click Save at the top right to persist your changes in Shopify.
8
Publish Your Theme
- Navigate to Themes, find Experro Default Theme if not already selected , and click Publish.
- Confirm when prompted. Your updated theme, complete with Experro Discovery UI, is now live.