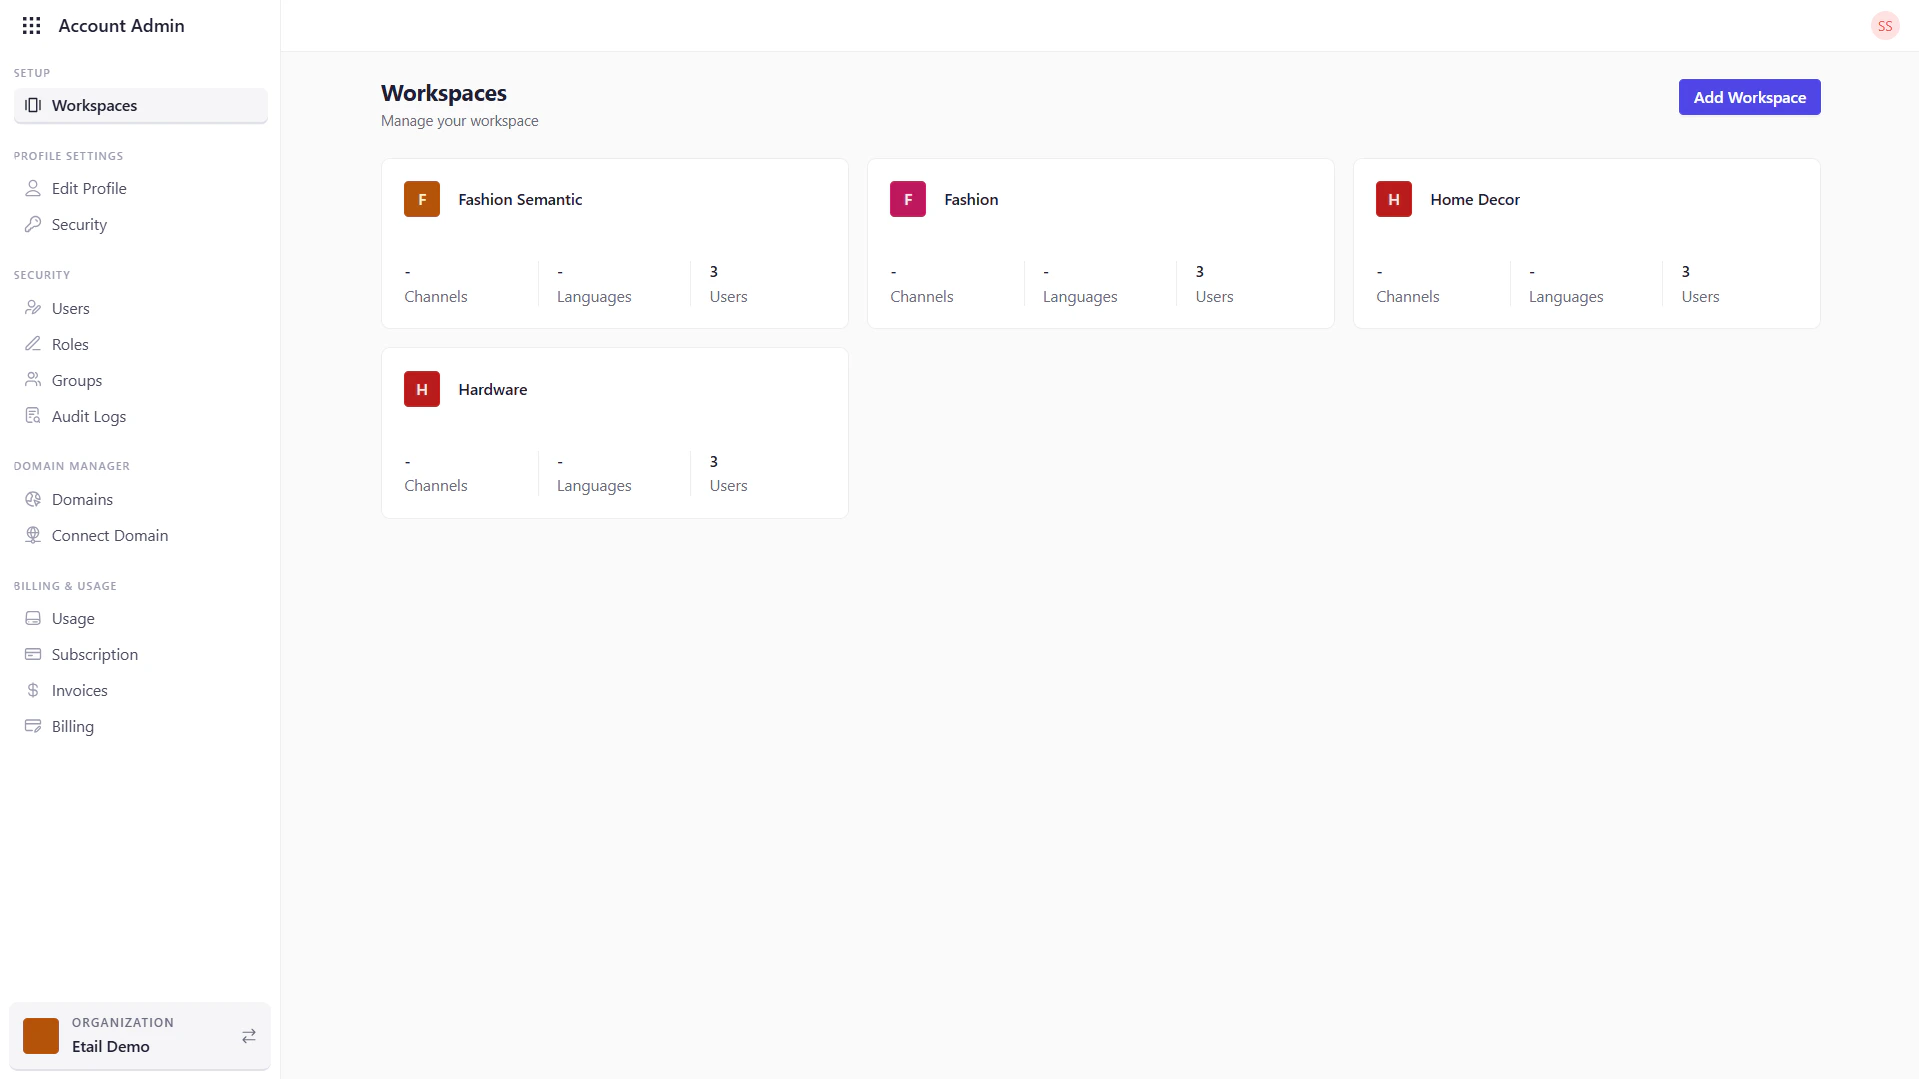
What You Can Do on This Page
- Browse All Workspaces See every workspace tile, each summarizing the number of channels, supported languages, and active users.
-
Manage a Workspace
Hover over any workspace tile and click the ⋮ icon to access the following options:
- Workspace Settings: Edit name, timezone, currency, and other core details.
- Delete: Permanently remove the workspace (irreversible).
- Add a New Workspace Click Add Workspace to launch a flow for provisioning a fresh workspace.
Workspace Tile Breakdown
Click the tile itself to enter that workspace’s own Workspace Settings section.
Adding a New Workspace
- Click Add Workspace The Add Workspace pop-up appears.
-
Enter Basic Details
- Workspace Name: Unique display name (e.g., “North America Ops”).
- Workspace Timezone: Select from the dropdown (e.g., UTC+05:30).
- Workspace Type: Choose a classification (e.g., “CMS”, “APP”).
- Currency: Set the default currency for billing and reports (e.g., USD, EUR) from the dropdown.
- Generate Workspace Link Click Next to automatically generate the workspace’s shareable URL.
- Save Review your settings, then click Save to create and provision the new workspace.