1
Open Content Library
From the navigation panel on the left side, navigate to Content -> Content Library.
2
Select a Model
From the left panel, choose the Model you wish to populate (e.g., “Blog Post,” “Product,” “Homepage”). The Models you have created will be listed here.
3
Add Entry
- Single‑Entry Record: The existing entry opens directly for editing.
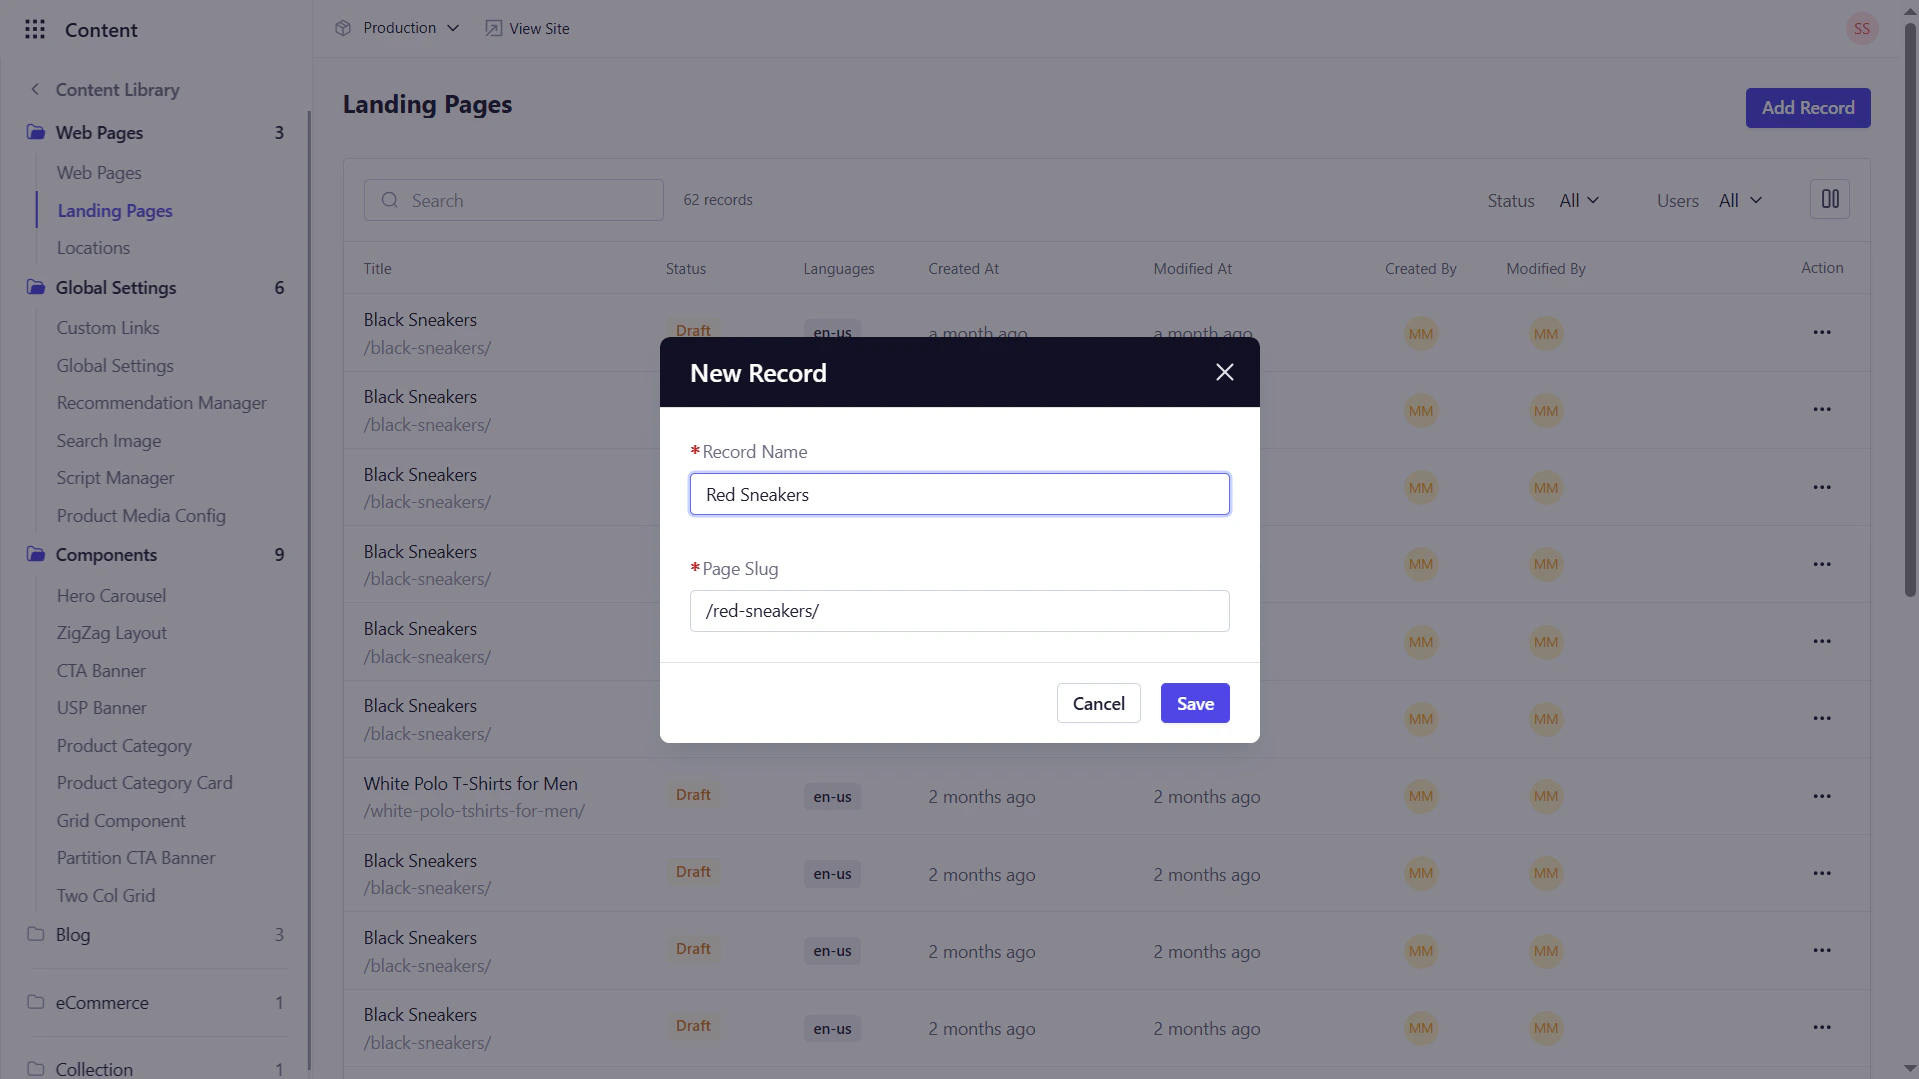
- Multi‑Entry Record: Click Add Record at the top-right of the page.
4
Enter Basic Details
- Record Name: Provide the title of the entry.
-
Slug : The Slug will be auto-generated based on the record name.
5
Fill In the Fields
The center panel displays your schema fields and Component blocks. Enter text, upload media, select options, or launch the Visual Builder if available.
The visual builder is available only for the multi-entry content types and if you have added the Page Editor field to the content model.
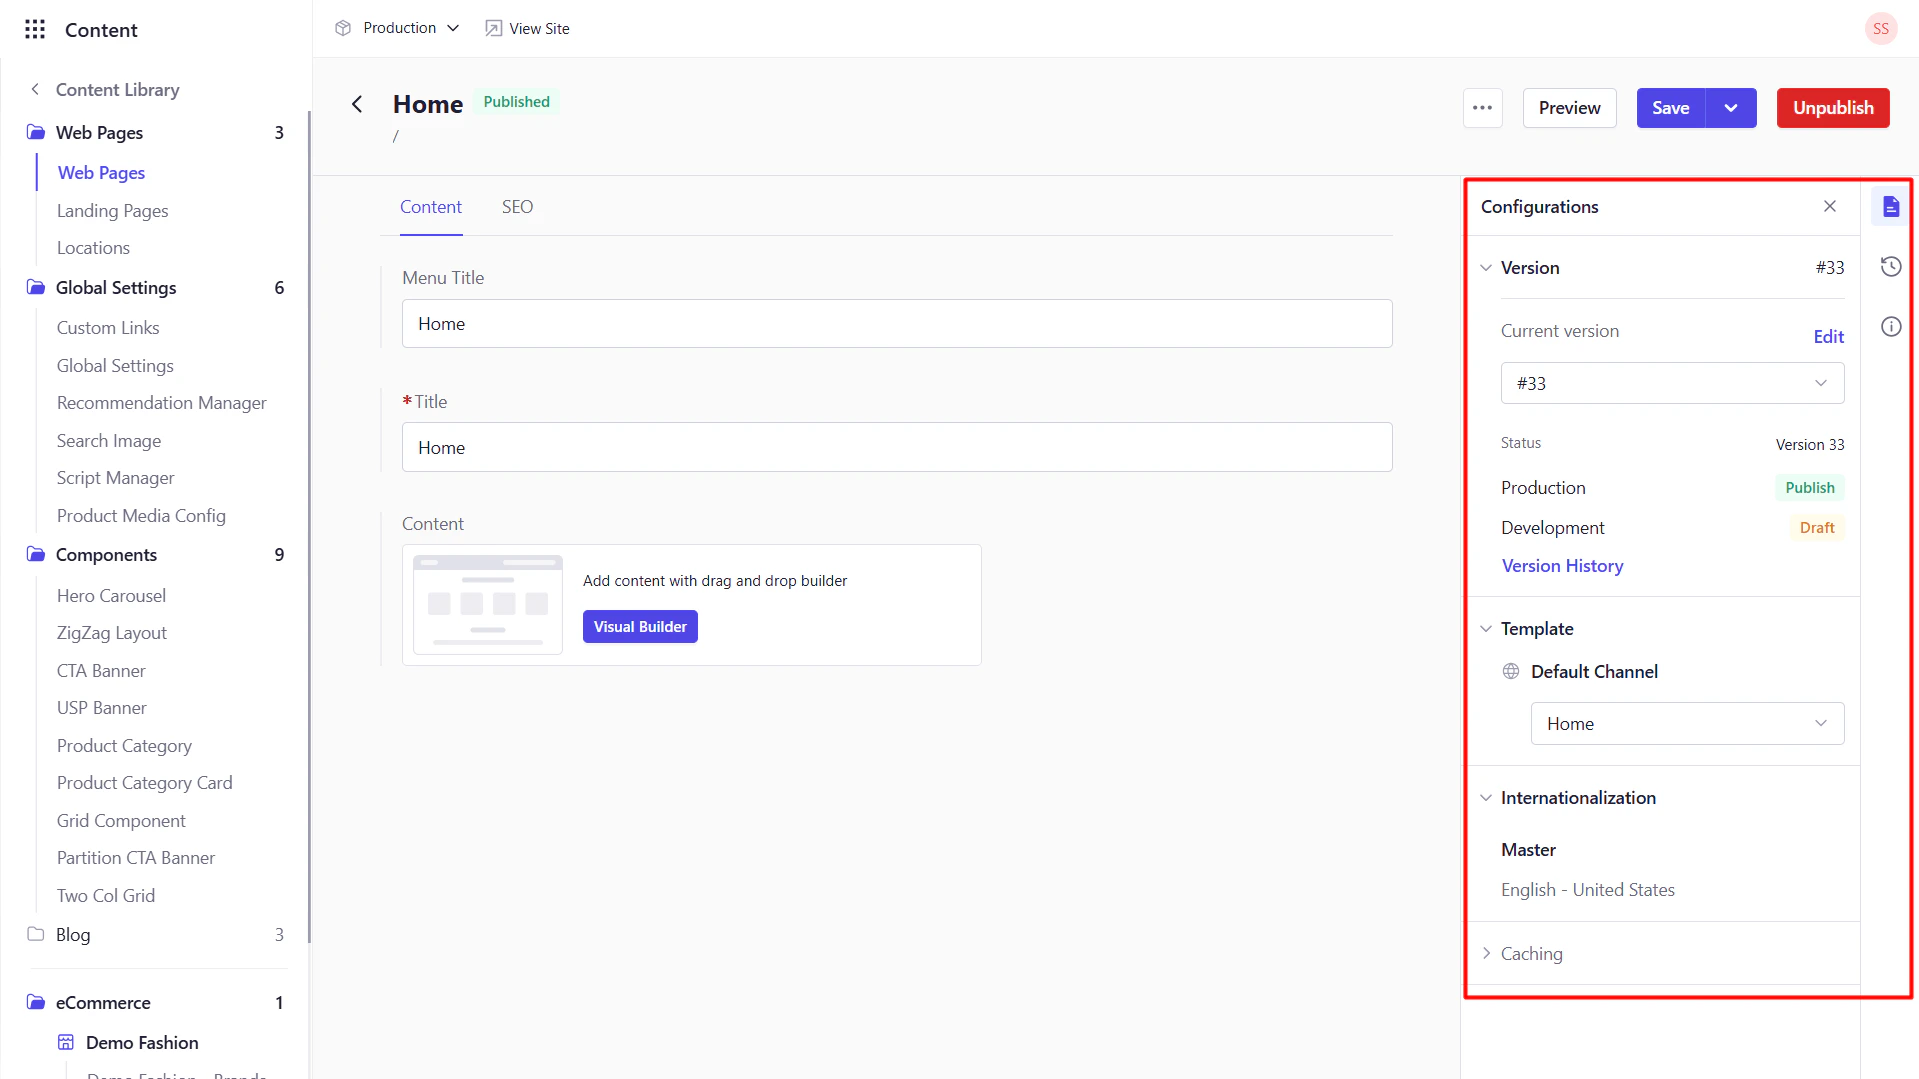
6
Language & Version Sidebar
On the right, switch locales, view draft vs. published versions, or access version history.